
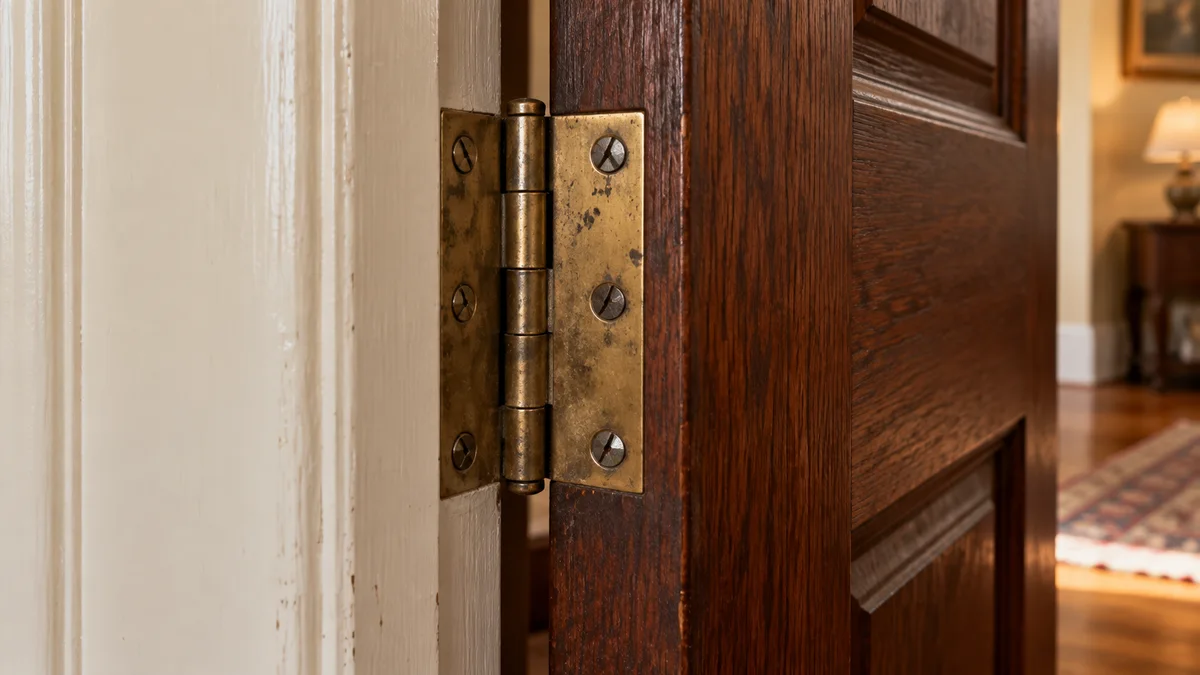
Gate 1: is the hinge really the source?
Listen while moving the door normally
Open and close the door slowly from the handle, keeping fingers away from the hinge gap. Listen for the point in the movement where the noise begins. A continuous hinge squeak differs from a scrape at the floor or a click when the latch enters the strike plate.
Repeat the normal movement once or twice to locate the source, not to force a stuck door through its travel. Look for fresh scuff marks around the frame and floor. If the door catches, drops or feels unstable, stop. An alignment or support problem deserves attention before lubrication.
Inspect the hinge without dismantling it
Look for bent leaves, severe rust, a lifted pin, missing screws or wood damage around the mounting points. A hinge leaf is one of the flat plates attached to the door or frame; the knuckles are the interlocking rounded sections around the pivot. Knowing those parts helps you describe what you see.
If the mounting is loose or damaged, do not assume that oil restores support. The Schlage hinge-care article also distinguishes ordinary friction from damaged hinges. For a heavy door or uncertain attachment, arrange a repair with someone equipped to support the assembly safely.
When the sound is not a hinge squeak
| Sound or symptom | Useful observation | Next direction |
|---|---|---|
| Scrape near the floor | Fresh marks beneath the door | Check alignment or flooring change |
| Click only at closing | Latch meets the strike awkwardly | Inspect latch alignment |
| Creak with visible movement at screws | Hinge attachment shifts | Arrange support and mounting repair |
| Noise from a closer | Specialized mechanism is present | Use its service instructions |
Do not adjust structural or fire-safety hardware based on this table. It simply helps separate problems that otherwise sound similar. For small cabinetry hardware, use the cabinet door troubleshooting guide, which addresses a different hinge arrangement.
Set up before applying anything
Choose a compatible lubricant
Use the hinge manufacturer’s recommended product and application method. Look for compatibility with the hinge material, finish and nearby painted or wood surfaces. A product that frees a seized component is not necessarily the correct long-term lubricant for every hinge design.
Avoid kitchen oils and improvised mixtures. They can leave residue and attract dirt, and they do not come with hinge-specific compatibility instructions. Do not combine products because the first application did not immediately work. If you cannot identify the hinge type, ask the hardware supplier before applying anything.
Protect the area and clean loose dust
Lay a protective cloth beneath the hinge so any small drip cannot reach the floor. Keep the cloth clear of the door’s path. Wipe loose dust from accessible exterior surfaces using a clean soft cloth. Do not push debris into the hinge or flood it with cleaner.
Read the lubricant label for ventilation and handling requirements. Keep children and pets away during the task. A controlled applicator helps you place a small amount where the instructions specify. An uncontrolled spray across the hinge, wall and floor makes cleanup harder and can leave a slippery surface.
Apply, move and wipe
Apply a small amount and work the movement
Apply only the amount and at the points described for the hinge. Keep the door stable and your fingers away from the closing gap. Move the door gently through its normal range several times to distribute the lubricant, then listen again. Do not slam the door to force product into the pivot.
If the noise improves, avoid adding more automatically. Wipe accessible excess from the outside with a suitable cloth. Check the floor and door face for drips. Leave the area clean so the next observation tells you about the hinge rather than about accumulated oil and dust.
The finish test: quiet and correctly closing
Verify the result beyond the first swing
Operate the door normally after cleanup. Confirm that it closes and latches as before and that no new rubbing has appeared. Recheck during ordinary use later. A short-lived improvement can indicate that the source was misidentified, the product was unsuitable or the hinge needs repair.
If the squeak persists, stop repeating applications. Return to the source check and compare the sound with movement at the frame, latch and hinge. Document what changed after lubrication so a repair professional has useful information. “Quieter for one day, then scraping at the top edge” is more informative than “oil did not work.”
A practical example
Suppose a bedroom door moves freely and squeaks halfway through opening. There are no fresh rub marks or loose-looking attachments. A compatible hinge lubricant used sparingly at the approved point may address the friction. Verification means quiet normal movement and unchanged closing behavior, not just one silent swing.
Now suppose the door must be lifted to latch and the top hinge moves against the frame. That is a support or alignment concern. Lubrication may change the sound while leaving the problem in place. Arrange the appropriate repair and avoid using the door in a way that worsens the looseness.
Keep the next check simple
Add a note to your monthly home inspection with the hinge location and product used. You do not need to lubricate every hinge just because one made noise. Use condition and manufacturer guidance to decide when further care is appropriate.
Protecting finishes is part of the task too. If lubricant reaches nearby furniture, do not attack the mark with an unrelated solvent. Follow the surface-care instructions; our wood furniture care guide explains how to approach unknown finishes cautiously.
References for this guide
See Schlage’s guidance on squeaky hinges for hardware context. Product-specific hinge and door instructions govern permitted maintenance, particularly for specialty and fire-rated assemblies.