
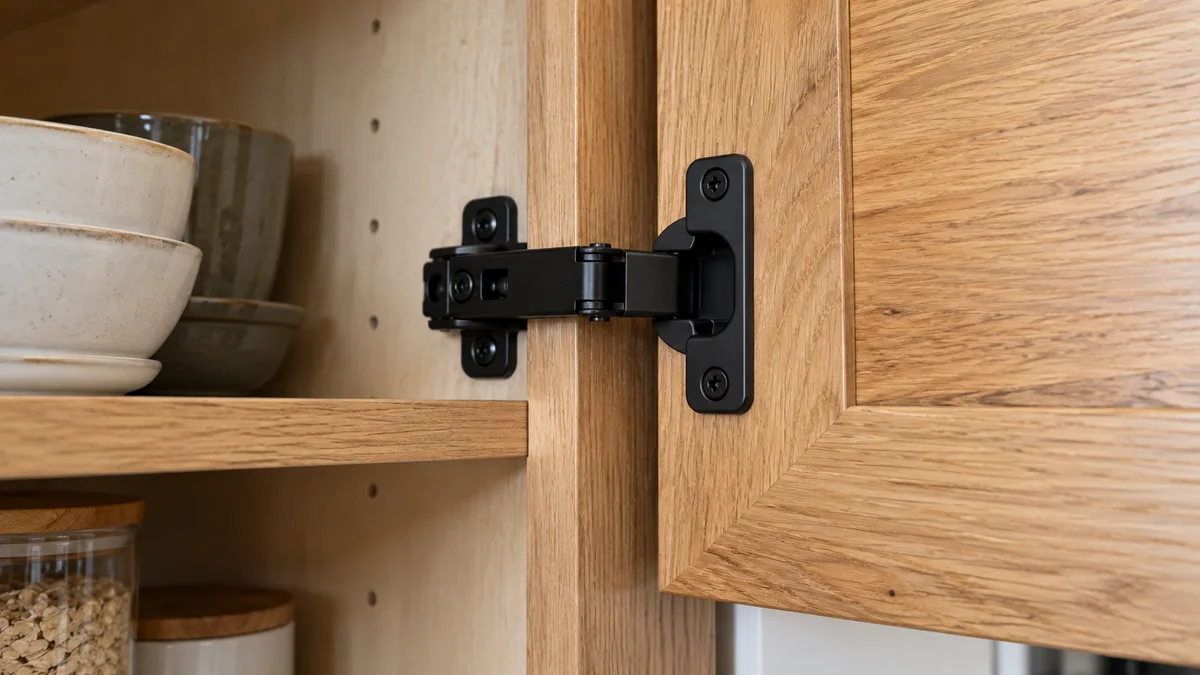
Find where the door makes contact
Use the contact point as a clue
| Where the door catches | First check | Avoid |
|---|---|---|
| Against stored contents | Empty the front storage area | Forcing the door shut |
| Against a neighboring door | Model-specific side alignment | Turning all hinge screws |
| At one top or bottom corner | Gap pattern and mounting condition | Removing support without help |
| At the final closing movement | Damper or catch instructions | Adding unapproved lubricant |
| Along a swollen edge | Moisture and material damage | Sanding away evidence of a leak |
Treat this table as a way to organize observation, not a universal adjustment chart. Different hinge families move differently, and some cabinet designs deliberately use uneven gaps. Compare with the manufacturer’s intended setup rather than an imagined perfectly flush surface.
Clear simple interference first
Something is physically in the way
Remove the lightweight contents near the front edge and close the door gently. Look for a protruding shelf, a utensil handle or a storage bin touching the back of the panel. Check whether a door-mounted organizer has shifted. Do not slam the door to compress the obstruction.
Also check bumpers and catches. A bumper that has doubled up or moved can hold one corner away from the frame. Replace only with a compatible part and position. If the door closes normally with the cabinet empty, rearrange the storage before making any hinge adjustments.
Check fit and closing hardware
The door is misaligned
Observe the gap around the closed door from a straight-on position. Does the top edge tilt? Is the door rubbing its neighbor? Does one edge sit farther forward? Photograph the original position so you can compare a small adjustment with the starting point.
Many European concealed hinges allow side, height and depth adjustment, but screw functions vary. The Blum adjustment information is an example of model-specific guidance. Identify your hinge and consult its diagram before turning a screw. A mounting screw is not interchangeable with an adjustment screw.
Make only a controlled, documented adjustment
Use a hand screwdriver that fits the screw correctly. Follow the approved direction and range, making a small change and then checking the fit. Support the door as required by the instructions. Avoid power drivers, which can make it easy to overshoot or strip a fixing.
Change one variable at a time. If you adjust side, height and depth together, a better-looking gap at one corner may conceal a new problem elsewhere. Reopen and close the door gently after each change, and verify the relationship to adjacent doors and drawers.
The closing mechanism is faulty or obstructed
Soft-close hinges may have switches, dampers or separate accessories. Check the model instructions before changing their settings. A damper problem is not always corrected by pulling the door harder or turning every visible screw. Look for an obvious obstruction without opening the mechanism.
If the hinge closes normally until the final part of travel and then stops, record that behavior. Note whether both hinges appear to act similarly. Do not spray a damper with oil unless the manufacturer specifically permits it; a lubricant intended for an ordinary door hinge can be unsuitable for a concealed closing mechanism.
Stop for damaged attachments or material
The attachment is loose or damaged
Look for a hinge plate shifting against the cabinet or a screw that spins without holding. Crumbling particleboard, split wood and enlarged mounting holes need an appropriate repair. Simply fitting a larger screw can damage material or conflict with the hinge design.
Do not rely on general wall filler to support a loaded hinge. The repair method depends on the substrate, damage and hardware. A cabinetry professional can assess whether a repair plate, suitable insert or replacement component is appropriate. If the cabinet itself moves on the wall, stop using it and arrange prompt assessment.
The door or cabinet material has changed
Inspect for swelling near a sink, peeling laminate, a bowed panel or a gap that changed after a leak. Alignment adjustments cannot restore water-damaged material. Address the moisture source before deciding whether a panel or fitting should be repaired or replaced.
Our monthly inspection routine includes accessible sink cabinets because early moisture clues are easy to miss behind storage. For a faucet-related symptom, use the dripping faucet checks. A door rubbing after a leak belongs in that wider investigation.
Test with the cabinet back in use
Work through one realistic example
Imagine two cabinet doors that meet at the center. One rubs its neighbor at the top but has a larger gap at the bottom. The cabinet contents are clear, and the attachments appear secure. That pattern makes controlled alignment investigation sensible, using the exact hinge instructions and a starting photograph.
Now imagine a vanity door whose lower edge has swollen and whose cabinet floor is damp. Turning the hinge may create clearance temporarily, but it does not resolve the damaged material or the water source. Record the moisture, arrange the appropriate repair and revisit the door only after the cause is addressed.
Verify the cabinet in normal use
After any approved adjustment, open and close the door several times. Check that drawers and neighboring doors still work and that handles do not collide. Return the contents and test again. A door that works only while the cabinet is empty may still have a storage interference problem.
Keep the hinge model and the successful adjustment in your maintenance notes. Wipe the exterior using the finish instructions rather than leaving fingerprints or product residue on the panel. Our wood furniture care article explains why finish compatibility matters when choosing a cleaner.
References for this guide
See Blum’s hinge assembly and adjustment resources for an example of manufacturer-specific documentation. Use the instructions for your actual hinge rather than treating any one brand’s screw layout as universal.