
Before starting: material and kit
Know what you are about to clean
Check installation records or ask the installer about the tile, grout and any sealer. If the surface is unidentified, avoid acidic cleaners and abrasive experiments while you investigate. Natural stone is especially important to identify because common household acids can alter its surface.
Look at corners and the joint where a tub meets the wall. These may contain flexible sealant rather than grout. Do not scrape them with a grout tool or assume they require the same treatment. Record splits or missing sections separately, and arrange the appropriate repair before water continues entering an unintended path.
Put a small, compatible cleaning kit together
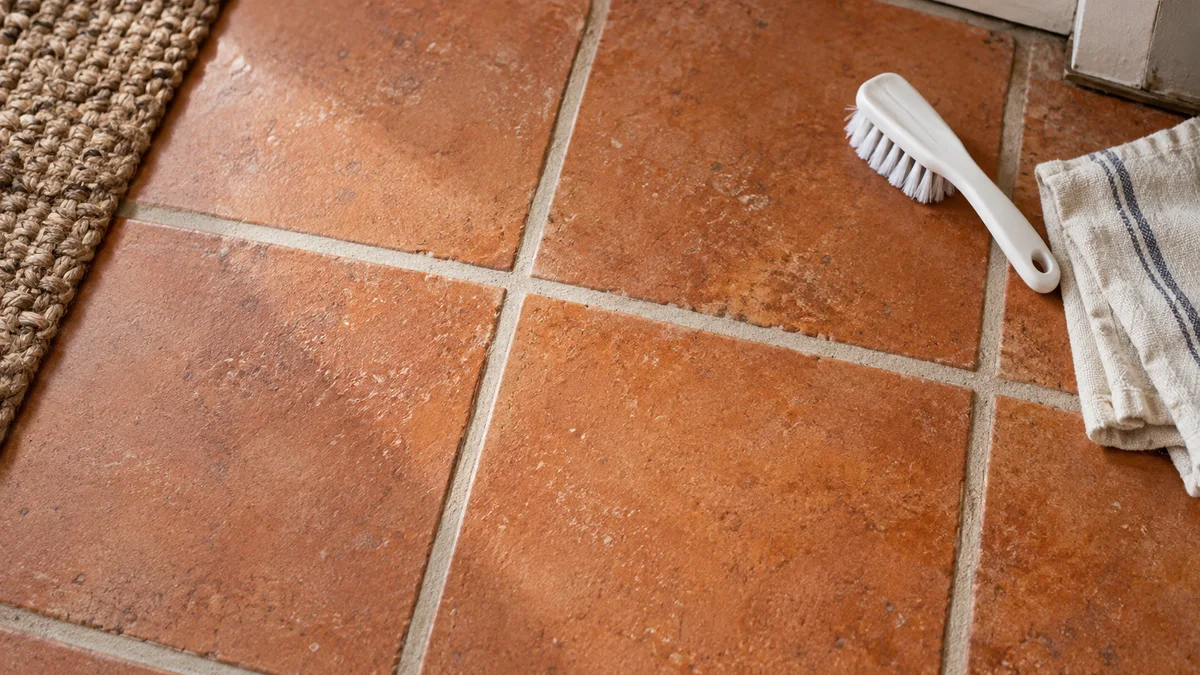
Use a soft nylon detail brush, clean cloths, water and a cleaner specifically approved for the entire tiled assembly. Read dilution, contact-time, rinsing, ventilation and protective-equipment instructions. A stronger mixture than the label specifies is not a shortcut; it changes the conditions under which the product is intended to be used.
Avoid metal brushes, harsh scouring pads and sharp scraping tools. They can damage surfaces and joints. Keep products in their original containers, and never mix cleaners or disinfectants. The CDC home-cleaning guidance explicitly advises against combining cleaning chemicals.
The five-step cleaning sequence
Follow a controlled cleaning sequence
1. Remove loose debris
Lift loose hair and surface debris before wet cleaning. Use a clean method that does not grind grit into the tile. Check for an unstable joint while you work. If the grout begins breaking away under very gentle contact, stop and have its condition assessed.
2. Test a small inconspicuous area
Apply the compatible cleaner according to its instructions in a place that will not be prominent. Rinse and let it dry before judging the result. Wet tile can conceal dulling or color changes, so a quick look immediately after application is not a complete compatibility check.
3. Work on a manageable section
Apply the approved solution and respect its stated contact time. Use gentle strokes along the grout with the nylon brush. Avoid forcing bristles under loose edges or scrubbing flexible sealant aggressively. A small section lets you rinse before residue dries back onto the surface.
4. Rinse and remove residue
Follow the cleaner’s rinsing instructions, using clean water and cloths where appropriate. Do not redistribute dirty solution across the whole room. Keep the floor from becoming slippery, and avoid directing excess water into damaged joints or areas outside the wet enclosure.
5. Dry and reassess
Dry the surface as instructed and inspect it under normal light. Compare with your test area. If the joint remains discolored but intact, identify whether the issue is embedded staining, a finish change or recurring growth before selecting another product. Escalating chemistry without a diagnosis can turn discoloration into damage.
After drying: choose the next move
Match the next step to what remains
| After cleaning | What it may mean | Sensible next step |
|---|---|---|
| Residue lifts and joint stays intact | Ordinary surface soil | Keep a compatible maintenance routine |
| Dull tile or changed color | Possible surface reaction | Stop and consult the surface supplier |
| Grout crumbles or cracks | Joint or substrate problem | Arrange assessment and repair |
| Dark growth returns | Moisture or material issue | Investigate conditions and cleanup scope |
The table is an observation guide. It does not identify mold species, verify waterproofing or prescribe a chemical treatment. If recurring growth is the concern, use our bathroom mold next-steps guide before deciding to clean again.
A useful before-and-after comparison
Imagine a ceramic-tile floor with intact grout darkened around a frequently used doorway. A compatible cleaner and gentle brushing remove much of the tracked-in soil. After rinsing and drying, the joint looks more even. That result supports adjusting the entry cleaning routine rather than immediately resealing or recoloring the whole floor.
In contrast, a shower corner that becomes dark again while the sealant is splitting has a different story. The recurring condition matters more than the temporary color improvement. Photograph it, stop adding products and arrange a moisture and joint assessment. A successful cleaning session does not close an unresolved repair issue.
Keep the result without harsher products
Why the popular shortcuts can disappoint
An acidic kitchen ingredient may seem mild because it is familiar, but familiarity does not make it safe for stone or grout. A stiff brush may remove a mark quickly while roughening a surface. Repeatedly adding product can also leave residue that looks like a new film once the area dries.
Do not assume that bleach is the default answer to every dark line. Identify the material and the reason for the discoloration. Never combine bleach with vinegar, ammonia or other cleaners. If a product is unsuitable for the surrounding tile, keeping it precisely on a narrow grout line is not a dependable protection strategy.
Keep the improvement with a simpler routine
After normal use, remove excess water where the surface-care instructions allow and support effective bathroom ventilation. Keep toiletries from permanently covering wet corners. Check flexible joints periodically so cleaning does not become a substitute for repairing a failed seal.
Use the monthly home inspection to record changes and the spring room-by-room reset for a broader seasonal review. A repeatable mild routine is easier to assess than a different chemical experiment every weekend.
References for this guide
See Daltile tile-care guidance and its natural-stone care information. Product and surface instructions determine suitable cleaners, tools and sealing requirements.