
Before opening the tank
Begin with the outside of the toilet
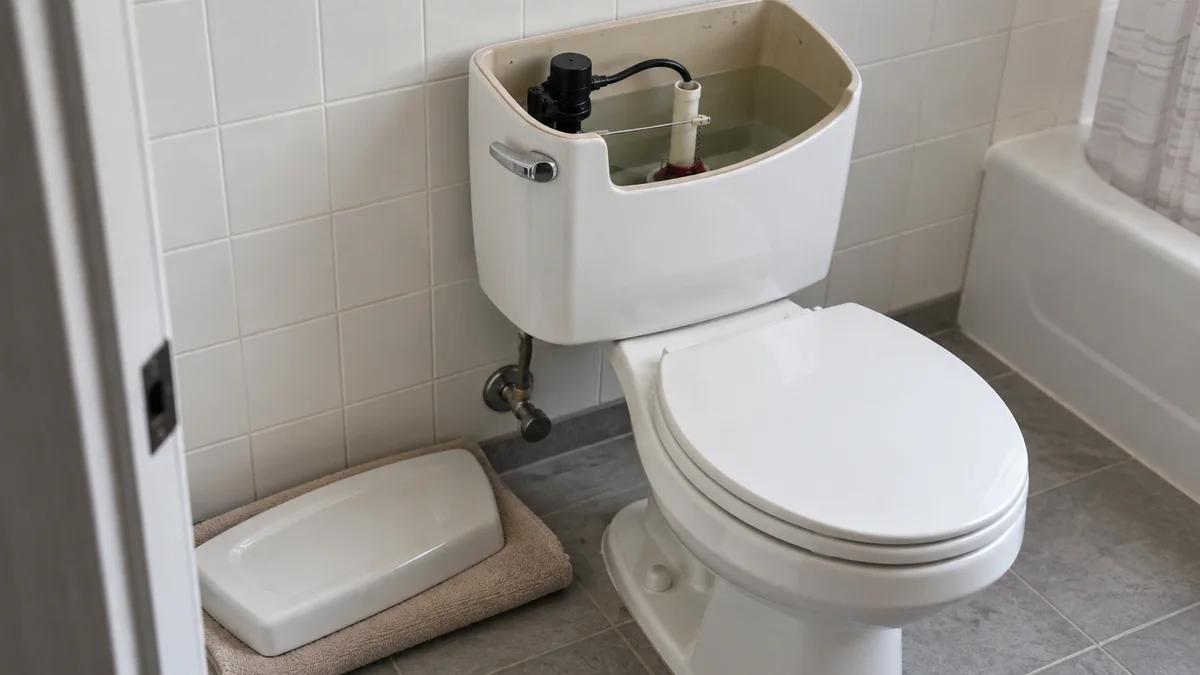
Look at the supply connection, tank exterior and floor around the base. A tank problem and an exterior leak can occur together. Do not tighten bolts indiscriminately; porcelain can crack, and the source may be elsewhere. If a shutoff is corroded, stiff or leaking, have it assessed before relying on it for a repair.
Place the tank lid on a stable padded surface if the model allows ordinary removal. Ceramic lids are heavy and fragile, and leaning one against a wall invites breakage. Do not place it across the bowl where it can slide. Keep cleaning products and small objects out of the open tank.
Choose the refill pattern
The tank never seems to finish filling
Observe the normal water level without reaching into moving parts. If water continues into the top of the overflow tube, the filling system or level setting needs model-specific investigation. The overflow tube provides a route into the bowl; it should not become a reason to ignore continuous filling.
Check for an obvious obstruction preventing the float from moving normally, but do not bend parts or improvise a new setting. The float may be a ball on an arm or a cup around the fill valve. Use the toilet and fill-valve instructions to identify the intended water-line mark and adjustment method.
If the fill valve does not stop despite the correct setting and unobstructed movement, contact the manufacturer or a plumber about the approved repair. Do not keep lowering the level until the toilet barely flushes. An underfilled tank can create a new performance problem without fixing the faulty component.
The tank goes quiet, then refills later
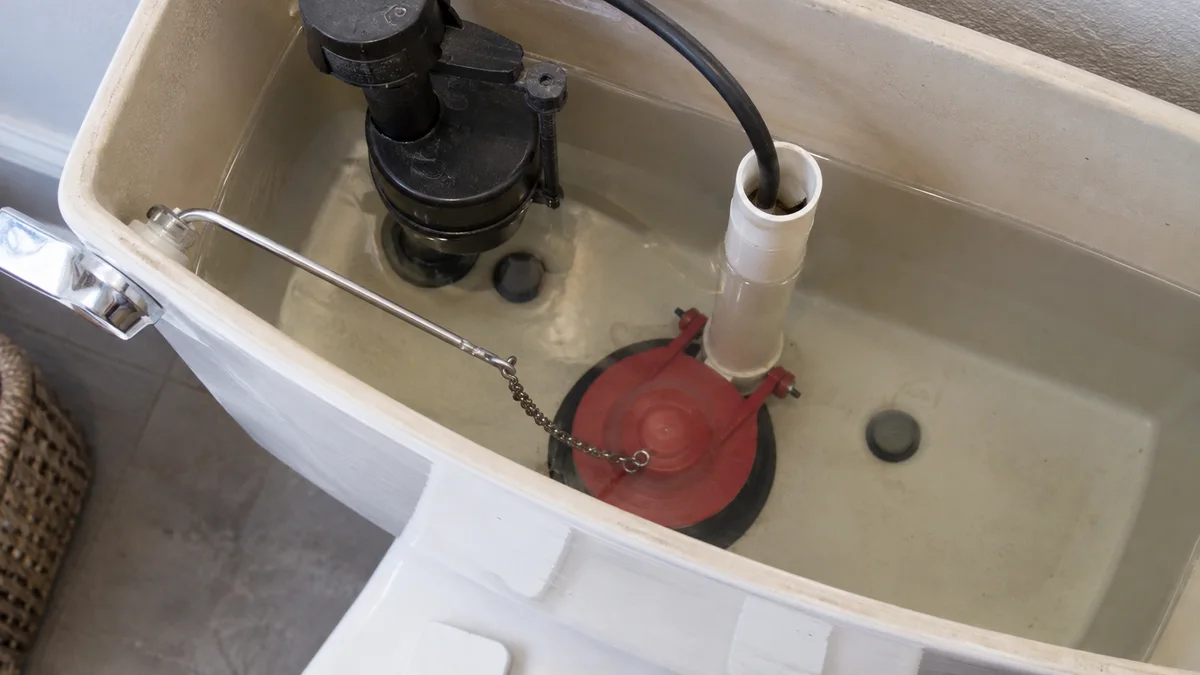
Intermittent refilling can occur when water escapes from the tank into the bowl and the fill valve replaces it. On a conventional flapper system, inspect whether the chain is caught or holding the flapper slightly open. Observe the arrangement first. Different flush mechanisms use different seals, so not every toilet has a flapper.
The EPA WaterSense leak test uses a small amount of food coloring in the tank and checks whether color appears in the bowl without flushing. Follow the toilet maker’s compatibility guidance; after about ten minutes, flush promptly to avoid staining. A positive result shows tank-to-bowl leakage, not automatically which part needs replacement.
Do not add cleaners as a diagnostic aid. Some products can affect components, and mixing them is hazardous. If the flush seal is worn or damaged, obtain the exact compatible replacement and follow the service procedure with the supply safely isolated.
The handle does not return normally
Watch whether the handle returns after an ordinary flush and whether the linkage catches. A chain can be tangled, obstructed or incorrectly set, but a mechanism can also be damaged. Do not compensate with a large improvised weight, elastic band or excessive chain slack.
Consult the model instructions for the linkage arrangement. A small adjustment should preserve full operation without holding the seal open. If you cannot identify the intended setup, photograph it for support. A handle that only works when held in a special position is a symptom to resolve, not a normal operating method.
What the pattern can tell you
What the observations do and do not tell you
| Observation | Possible direction | Verification needed |
|---|---|---|
| Water enters overflow continuously | Fill level, float or fill valve | Correct model setting and valve operation |
| Tank quietly loses water into bowl | Flush seal or linkage | Compatible seal and unobstructed closure |
| Handle stays down | Handle or chain interference | Normal return and full flush cycle |
| Floor or tank exterior is wet | Exterior leak or condensation | Actual water source and plumbing assessment |
These are troubleshooting branches, not guaranteed diagnoses. If the supply or fixture arrangement differs from the examples, stop and use the proper documentation. A pressure-assisted vessel should not be opened using instructions intended for a gravity tank.
Select a part only after diagnosis
Before you replace a part
Record the toilet model and the markings on the installed valve or seal. Confirm compatibility through the manufacturer rather than relying solely on appearance. A flush seal can fit over a similar opening yet fail to seat correctly. Keep the instructions available throughout the task.
Verify safe water isolation before service, and follow the required procedure for emptying the tank and replacing the part. Do not force the shutoff or overtighten plastic nuts and porcelain attachments. If a connection is deteriorated or the repair requires removing the tank, consider having a plumber handle it.
Prove the repair under normal use
Check the repair under normal use
Restore supply as instructed, let the tank fill and watch the intended water level. Operate the toilet through normal flushes. Check that the handle returns, the fill stops and the tank remains quiet. Dry accessible exterior connections and inspect for new leakage.
Recheck later rather than assuming the first quiet minute proves success. An intermittent leak may take time to appear. Keep the part number and repair date in your monthly inspection record. If the symptom persists, share the observed branch and repair details with a plumber.
References for this guide
See EPA WaterSense: Fix a Leak Week for toilet leak awareness. For a different fixture symptom, compare the dripping faucet guide. Always follow the specific toilet and replacement-part instructions.