
Prepare: confirm the wall and choose the kit
Decide whether this is a cosmetic patch
Look at the surrounding wall in good light. Is the paper facing sound? Is the area dry and firm? Does the hole come from a known picture hook, or did damage appear without an obvious cause? A known small fastener hole is a clearer candidate than a spreading crack or a soft patch below a window.
Stop for active moisture, loose wall material, repeated movement or damage larger than the product supports. Do not fill over the evidence and hope paint hides it. The monthly home inspection guide helps record changes that need assessment rather than a cosmetic repair.
Match the product and tools to the hole
Choose a spackling compound labeled for the wall material and the size and depth of repair. Read the maximum fill depth, drying conditions and sanding instructions. “Lightweight” and “ready mixed” describe product characteristics, not permission to fill every opening in one thick application.
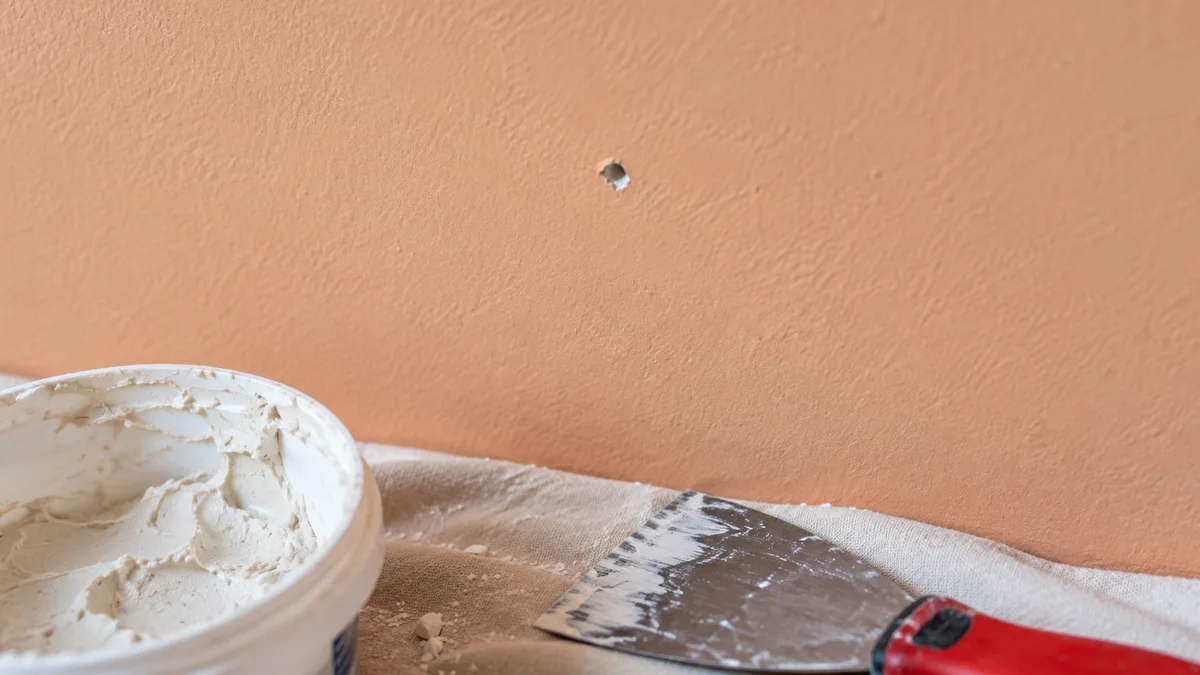
Prepare a clean narrow putty knife, a drop cloth and any finishing tools the label specifies. Keep dust-control and personal-protection requirements in view. A large trowel is usually awkward for a tiny nail hole. A dirty blade can drag dried particles through fresh compound and leave more finishing work.
Prepare only the immediate area
Protect the floor and remove loose surface dust gently. Follow the product instructions for preparing a sound edge. Do not push sharp tools deeply into the hole; wiring and piping can be hidden in walls. This small surface repair should not become an exploratory opening.
If an anchor remains in place, identify its removal method before acting. Some anchors cannot simply be pulled without enlarging the damage. Do not force it or bury protruding hardware beneath a mound of filler. If removal turns the task into a larger repair, use the appropriate patch method or get help.
Fill: keep the repair small
Fill and level in controlled passes
Apply the compatible compound with the knife, pressing it into the small surface defect as directed. Draw the blade across the area to leave a modest, level fill rather than a thick raised island. Keep the repair footprint small while covering the damaged edge properly.
Allow the specified drying time under the actual room conditions. A product that feels dry on the surface may not be ready for finishing at its full depth. If the label calls for a second coat or the repair has recessed after drying, add an appropriate thin application rather than trying to hide the depression with paint.
Wait, smooth and finish
Finish the patch without over-sanding
Use the finishing method the compound allows. Some products need little sanding; others require light smoothing after they are fully dry. Avoid grinding through the surrounding paper facing. Keep dust contained and follow the product’s respiratory and cleanup guidance, especially when any sanding is involved.
Check the surface from more than one angle under ordinary room light. A patch that looks flat straight on may have a raised edge visible from a window. Smooth the transition carefully rather than expanding the repair across a large area. Remove dust using a method compatible with the wall and primer.
Prime, paint and judge it when dry
Follow the patch and paint manufacturers’ instructions for priming. Differences in porosity can make an unprimed patch show through even when the surface is level. Let each layer dry as specified. A wet paint match is not a reliable prediction of the final appearance.
Use the correct paint color, finish and application texture. Even paint from the original can may not blend invisibly into an aged wall. If the touch-up remains obvious, repainting to a natural boundary may give a more consistent result. Do not keep piling paint onto the same small spot while it is still wet.
Inspect the dry result
Why a patch can remain visible
| What you see after drying | Likely finishing issue | Useful next step |
|---|---|---|
| Raised ring around the repair | Excess compound or poor edge transition | Reassess smoothing within product guidance |
| Dark or shiny spot | Porosity, primer or sheen difference | Review primer and paint compatibility |
| Different texture | Roller or brush pattern mismatch | Match the surrounding application method |
| Crack returns | Movement or unresolved substrate problem | Investigate instead of repeatedly filling |
These observations describe common finishing directions, not proof of a single cause. Dampness, unstable material and recurring damage need assessment. A decorative paint solution should not replace finding out why the wall changed.
A small-hole example
Suppose you remove a picture hook and find one shallow hole with a slight raised edge in otherwise sound drywall. After compatible preparation, a thin fill dries nearly level. A small finishing pass and the specified primer may be all the surface needs before painting. The waiting stages matter more than the number of tools.
Now suppose the same spot feels soft and the paint has bubbled around it. That is outside this tutorial. Record the location, check for related moisture clues without opening the wall and arrange an assessment. Do not treat the softness as permission to pack in more compound.
Keep cosmetic work separate from hardware repairs
If the hole resulted from a door handle striking the wall, prevent the repeated impact with a suitable door-stop arrangement before finishing the patch. Do not install a stop where it creates a trip hazard or interferes with required door operation. Our squeaky door guide covers a different door symptom that should be diagnosed separately.
For cabinetry damage, use material-specific repair guidance rather than drywall compound. The cabinet door troubleshooting page helps distinguish alignment issues from damaged mounting material. A filler that works on a painted wall is not automatically suitable for a loaded hinge attachment.
References for this guide
DAP’s patch-and-repair guidance describes product categories for different repairs. Use the label for the exact compound you select. For older painted surfaces, consult EPA lead renovation guidance before disturbing coatings.