
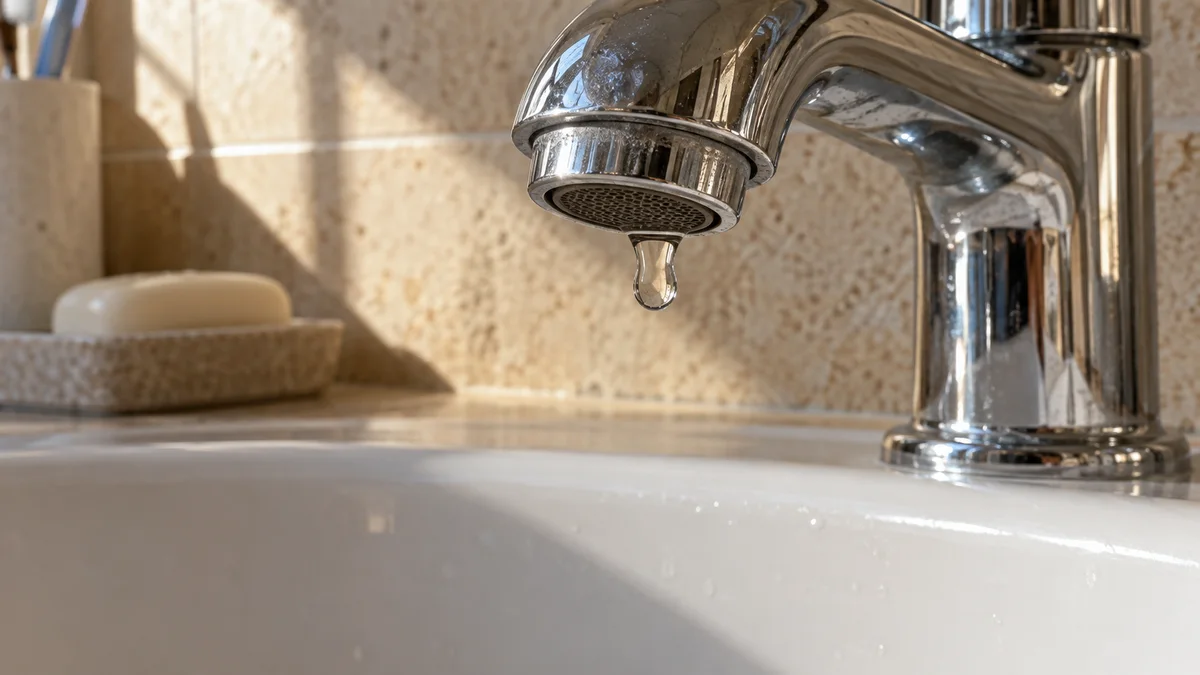
Choose your symptom
Match the symptom to the next action
| What you observe | What to investigate next | What not to assume |
|---|---|---|
| Persistent spout drip while off | Model-specific internal sealing parts | That the aerator is the shutoff valve |
| Water around the handle during use | Handle-area seals and cartridge instructions | That tightening the handle fixes the seal |
| Water below the sink | Supply, drain and hose leak location | That all cabinet water comes from the faucet |
| Weak or uneven flow while on | Aerator or supply troubleshooting | That low flow and a shutoff leak are identical |
The table directs your next investigation; it does not diagnose a failed component from appearance alone. If the issue is weak flow, start with our low water pressure guide. If the toilet rather than the faucet keeps using water, use the running toilet checks.
Collect two clues: location and timing
Establish where the water starts
Dry the sink rim, faucet body and accessible cabinet base with separate cloths. Use the faucet normally, then switch it off without forcing the handle. Observe the spout, handle area and the surfaces below. Keep your hands away from sharp cabinet edges and anything electrical stored nearby.
Water can travel along a body or hose before it drops, so the lowest wet point is not always the source. A pull-down kitchen faucet can involve the spray head, hose, connections or faucet body. Record the first place that becomes wet. If a connection is hidden, do not pull on the hose to improve your view.
Separate brief draining from persistent dripping
Some spouts or spray heads release retained water shortly after use. Persistent dripping after the fixture should have settled is a different observation. Note whether the drip stops, continues steadily or changes when the handle is moved normally. Do not keep pushing the handle harder; excess force can damage parts without correcting the seal.
Write down a simple sequence, such as “dry when unused overnight; water appears around the handle only while running.” That description directs attention differently from “spout drips continuously while off.” You do not need a precise leak-rate calculation to provide useful information to a plumber or manufacturer support team.
Before taking anything apart
Identify the faucet and its instructions
Look for the brand, model information or purchase record without dismantling the fixture. Photograph the whole faucet, handles and any accessible markings. A similar-looking product photo online is a starting clue, not proof of the correct part. Models can use different internal components despite nearly identical external styling.
The Moen spout-leak guidance illustrates why seal and cartridge information must be model-specific. Use your own manufacturer’s troubleshooting chart and parts diagram. Do not assume that a cartridge number recommended for a neighboring faucet applies to yours.
Confirm safe water isolation before repair
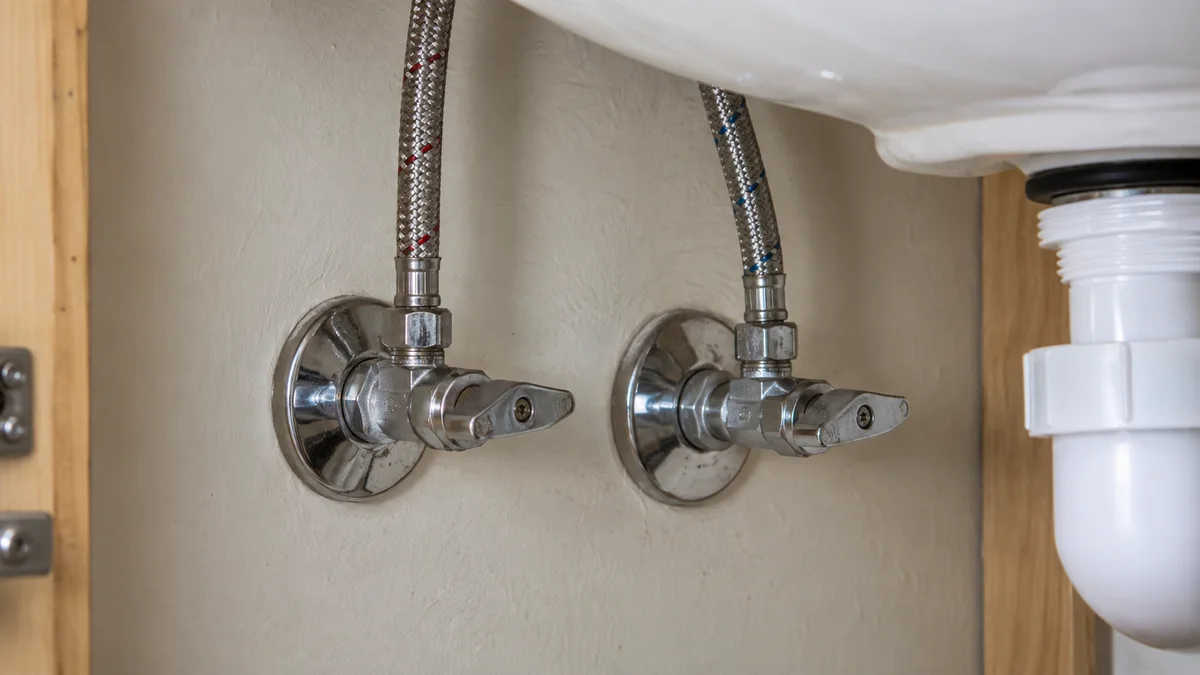
Find the shutoff valves serving the faucet. Inspect them visually for leakage, heavy corrosion or damaged handles. Do not force a stiff valve with pliers. A valve that will not close fully or starts leaking needs plumbing attention before you dismantle anything downstream.
For an approved repair, follow the faucet instructions to close the relevant supply and relieve remaining pressure. Verify that flow has stopped before proceeding. Know how to obtain help if isolation fails. A towel in the cabinet is not a substitute for a working shutoff, and leaving a disassembled fixture unattended is not a safe stopping point.
Repair, verify or hand over
If the manufacturer describes a suitable DIY repair
Read the entire procedure before removing a handle. Gather the exact replacement part, required tools and a small tray for components. Protect the drain from dropped screws without creating an overflow risk. Photograph the starting arrangement and keep parts in order rather than relying on memory during reassembly.
Follow the specified orientation, lubrication and tightening instructions. Do not substitute a random grease or add thread tape to every joint: many seals work through washers or O-rings rather than threaded sealing. If a component is seized, broken or different from the diagram, stop and contact support or a plumber.
Restore water according to the instructions and check the fixture under ordinary operation. Dry the area and inspect again after use. Verify both the original symptom and any connection disturbed during the repair. A quiet spout with a new cabinet leak is not a successful result.
Mistakes that turn a small leak into a bigger task
Do not buy a “universal” cartridge without confirming compatibility. Avoid forcing handles, prying decorative caps with tools that damage finishes, or gripping polished surfaces with bare pliers. Do not keep taking the fixture apart if the shutoff is unreliable. Stop when the actual assembly no longer matches the instructions.
Keep the final repair record in your monthly home inspection notes. Include the part number and date, then check the accessible cabinet after normal use. The record is especially useful if another fixture of the same model later develops a similar symptom.
Compare two different leaks
A useful example of narrowing the problem
Imagine a bathroom sink with a wet rim but a dry spout after shutoff. After drying the fixture, water appears at the handle base only while the tap runs. That observation makes a handle-area investigation more relevant than cleaning the aerator. It still does not identify an exact part until the model is known.
In a second scenario, the faucet stays dry while the cabinet floor becomes wet when the basin drains. That points you toward drain-side assessment instead. The value of the check is avoiding an unrelated repair. If the source remains uncertain, share the sequence and photographs with a plumber.
References for this guide
See EPA WaterSense leak guidance and your faucet manufacturer’s parts and repair documentation. This article provides an observation sequence; the actual repair method must match the installed fixture.