
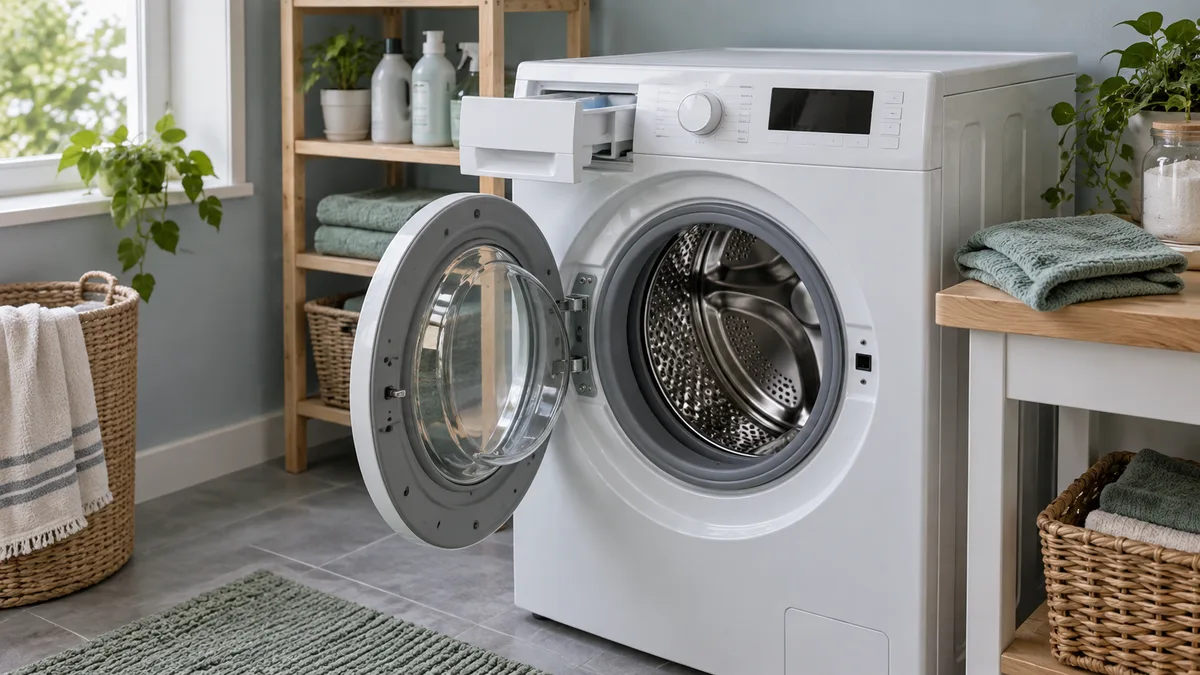
After a load: a small reset
After a load: Remove laundry and check the obvious areas
Take finished laundry out promptly and look for small items left in the drum. Check accessible gasket folds if the manual describes that task, without pulling apart clips or seals. A coin or hairpin caught near the opening is different from a component that should be removed for service.
Wipe accessible moisture or residue with the approved method. Some manufacturers recommend allowing the interior to dry with the door or lid ajar when safe. Follow household safety precautions: keep children and pets from accessing the machine, and do not leave an open door where it creates a collision hazard.
At detergent time: Measure for the actual load
Use the detergent type required by the machine, including high-efficiency detergent where specified. Follow the detergent and appliance dosing guidance for load size, soil and water conditions. More detergent is not automatically more effective and can contribute to residue when used inappropriately.
Check which compartment each product belongs in. A drawer may contain separate sections for detergent, bleach or softener, with model-specific limits. Do not guess from the location alone or add several products to the same compartment. Keep the original product labels available for use and safety instructions.
At the door seal: Be gentle and specific
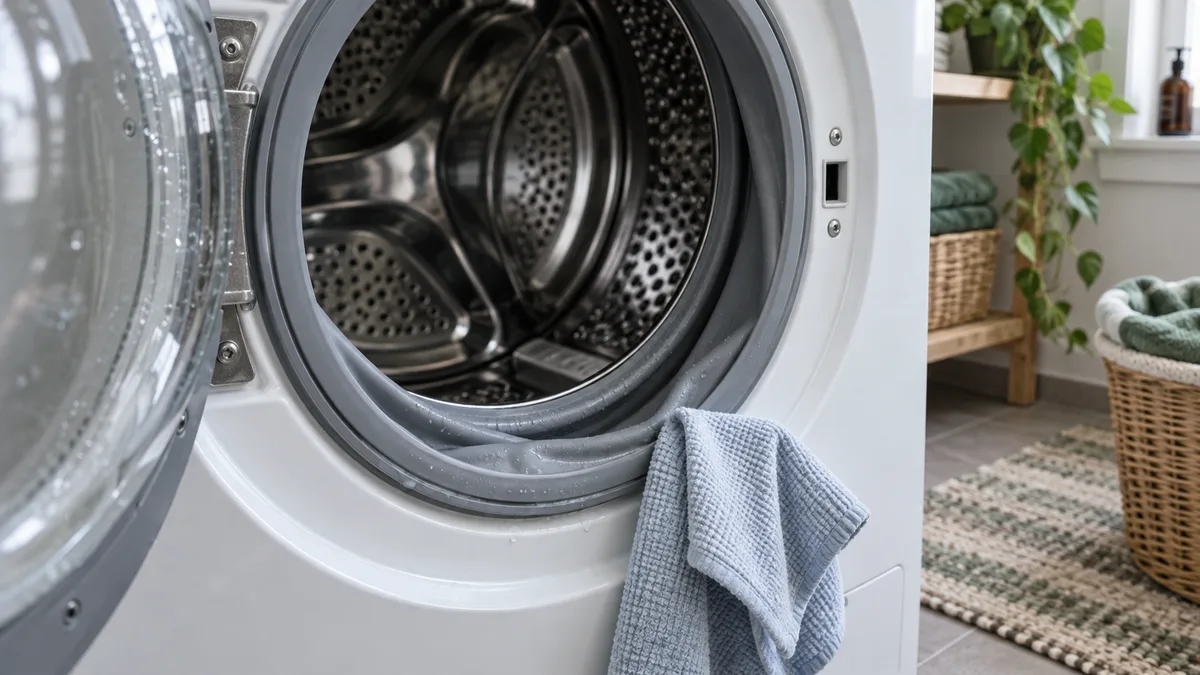
For a front-load washer, the rubber gasket can have accessible folds that collect moisture and small debris. Use only the cleaning method approved for that seal. Do not use a sharp tool to dig into creases or pull the gasket away from its retaining hardware.
If you see a tear, persistent leakage or damage, arrange the appropriate repair. A seal that needs replacement is not restored by scrubbing. Persistent mold-like growth or odor should be considered alongside moisture, dosing and cleaning history; avoid assuming a stronger chemical treatment solves every cause.
On the cleaning schedule
On the cleaning schedule: Run the specified cycle
Use the machine’s designated cleaning procedure, with the product and amount approved in the manual. The Whirlpool cleaning guide is an example of a manufacturer-led routine; it is not a universal recipe for every washer. Remove laundry if the instructions call for an empty cycle.
Do not combine cleaner, bleach, vinegar or other products to make a stronger treatment. Follow the sequence exactly, including any rinse or wipe-down afterward. If an error interrupts the cleaning cycle, consult the manual rather than repeatedly restarting it with more chemicals.
When residue appears: Check the dispenser correctly
Some dispensers are designed for user removal and rinsing, while others have different access procedures. Follow the release method in the manual. Do not pry a drawer out with a tool or force a component that is resisting. Keep parts in order and reinstall them as instructed.
Clean accessible residue using the approved method and dry where specified. Pay attention to product buildup at the correct dispensing points without reaching into hidden internal passages. If the drawer leaks after reinstallation, stop and check the instructions or arrange service rather than sealing it with tape.
What about a drain-pump filter?
Not every washer has a pump filter intended for homeowner access. Where the manual provides a user procedure, it may involve retained water and a specific draining sequence. Read the entire process before opening anything, prepare the required containment and follow the instructions exactly.
If the filter is not described as user-serviceable, do not remove a lower panel to search for it. A generic video for a similar-looking washer may show a different assembly. Ask the manufacturer or service provider instead of risking a release of water or damage to a seal.
When something changes
Around the machine: Look without pulling it out
Observe the accessible floor, hose sections and surrounding surfaces for new water or damage. Do not move the washer casually: its weight, connections and installation can make movement risky. A hose hidden behind the appliance may need a service visit for proper inspection.
If water is near electrical equipment, stay clear. For a visible leak, arrange prompt assistance and safely isolate water only if you know the accessible valve and procedure. The monthly inspection routine helps record these observations without turning them into unplanned disassembly.
Use symptoms to decide between cleaning and service
| Symptom | First useful check | When to stop |
|---|---|---|
| Residue in the drawer | Dosing and approved dispenser cleaning | Drawer or internal parts leak or break |
| Musty smell | Manual cleaning routine and drying habits | Odor persists despite correct care |
| Water on the floor | Safe observation of location | Active leak or electrical exposure |
| Loud new vibration or fault code | Stop and consult the manual | Repeated fault or unsafe operation |
Do not keep operating a machine with a warning symptom to complete the laundry. A cleaning cycle is not a diagnostic test for a damaged connection or electrical fault. The electrical warning signs guide explains when to stop using affected equipment.
Build a routine the household can share
A practical routine for a busy household
Keep three reminders: ordinary after-load care, the manufacturer’s cleaning interval and periodic accessible visual checks. Record the approved cleaner and detergent type so everyone uses the same method. A note inside a nearby cupboard can be useful without attaching anything to the appliance controls.
For example, a household noticing drawer residue might first correct overdosing and clean the user-removable dispenser as instructed. It would then observe normal loads and follow the scheduled machine-cleaning procedure. If water begins appearing below the washer, that becomes a service issue rather than a reason to add another cleaning cycle.
References for this guide
See Whirlpool’s washer-cleaning guidance and front-load interior care information for model-specific examples. For broader routines, see preventive maintenance habits.