

Pack a small inspection kit
Start with a short, useful equipment list
Bring a flashlight, your phone, a notebook and shoes with good grip. A pair of gloves can help with handling loose ground-level debris. You do not need to collect a shelf of cleaning products before you know what needs attention. Leave ladders and powered tools out of this first pass.
Create three headings in your notes: arrange now, do this week, and watch. Record a location and a visible symptom under each. “Water below the northeast downspout after rain” is more useful than “drainage problem.” A photo taken from the same position gives you something to compare after a repair or the next storm.
Outside: water, rooflines and openings
Follow rainwater away from the house
Look at accessible downspout outlets, the ground beneath them and nearby paths. Remove loose leaves from a ground-level outlet if you can do so without dismantling anything. Check whether water has been collecting beside the foundation, crossing a walkway or washing soil away from a planting bed.
Do not assume that attaching the longest extension solves every drainage issue. The outlet must have a suitable destination without creating a trip hazard, flooding a neighbor or violating local drainage arrangements. If water repeatedly pools against the building, ask a drainage professional to review the whole route rather than moving the problem a few feet.
Observe gutters and the roof from below
Stand far enough back to see gutter edges and rooflines. Note sagging sections, obvious plant growth, displaced roofing materials and stains below gutter joints. An upstairs window can sometimes provide a safer view, but do not lean out or step onto a roof to improve it.
Schedule cleaning or assessment where access requires a ladder. A clear-looking outlet does not prove the gutter above is clear. During a later rain, observe from shelter whether water follows the intended route. Report what you see to the contractor; avoid trying to identify hidden roof defects from a single photograph.
Read the condition of doors and windows
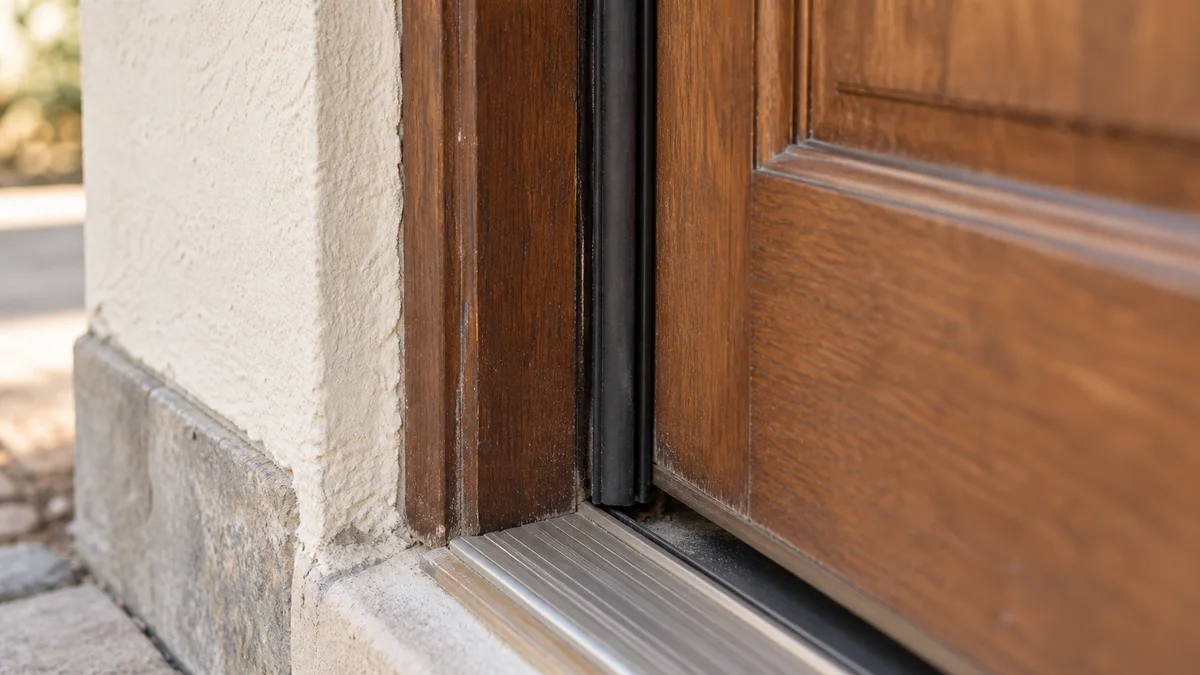
Open and close each accessible exterior door normally. Look for torn weatherstripping, daylight at the edges and a sweep that drags or leaves a gap. Check whether the latch works without lifting the door. Inspect window frames for peeling finishes, loose caulk and new staining, especially beneath the corners.
Replace compatible weatherstripping according to the door or window instructions. Do not cover drainage openings, ventilation paths or hardware with sealant. A door that suddenly jams may need alignment or moisture investigation; thicker weatherstripping can make that problem worse. Photograph the original seal profile before shopping for a replacement.
Inside: heat, alarms and moisture
Make heating maintenance an appointment
Find the heating equipment manual, note the last service date and arrange the maintenance the manufacturer specifies. Keep the area around the equipment accessible. Move stored belongings only where it is safe, and preserve the listed clearances around heating appliances and their vents.
Check the user-accessible filter according to the system instructions. Use the approved size and type; a denser filter is not automatically a better choice for every system. Our HVAC filter guide explains how to record the correct filter details without opening electrical or service compartments.
Review alarms and the household response plan
Use the test procedure in each smoke and carbon monoxide alarm manual and check its replacement information. A test button and a replacement date answer different questions. If you cannot identify the model or its age, obtain the instructions and arrange a suitable replacement rather than assuming a quiet alarm is functioning correctly.
Make sure household members know how to leave the home and where to meet. A sounding carbon monoxide alarm is a reason to leave and contact emergency services from outside, not an invitation to troubleshoot the furnace. Keep routes clear of seasonal storage, including shoes and boxes near exits.
Look for indoor moisture clues
Open the cabinets beneath sinks and look at the dry base, supply connections and drain area without disturbing them. Check window sills, the ceiling below bathrooms and the floor around appliances. Record fresh staining, a musty smell or swollen finishes. Follow up on moisture before painting over the evidence.
A small drip deserves a location-specific investigation. Start with our dripping faucet checks for a fixture problem; widespread dampness calls for a broader assessment. If water is near electrical equipment, stay clear and arrange qualified assistance.
Book the work that remains
Prepare outdoor water equipment correctly
Identify which hoses, irrigation components and outdoor fixtures need winter preparation in your climate. Follow the equipment instructions for disconnecting, draining and storage. A frost-resistant faucet can still be vulnerable when used or maintained incorrectly, so its appearance alone is not a winterization plan.
Arrange professional irrigation winterization where the system calls for it. Do not improvise compressed-air procedures. For exposed household piping or travel plans during freezing weather, use the winter preparation guide to organize questions for your plumber before temperatures drop.
Turn observations into a realistic calendar
Choose a few tasks for the coming week and book specialist work early. Put unresolved observations into your monthly home walk-through, along with photos and a follow-up date. This is more reliable than starting several repairs and forgetting which ones remain incomplete.
For example, a homeowner might clear a reachable outlet on Saturday, arrange gutter access on Monday and photograph a stained window frame after the next rain. Those are three distinct actions with clear completion conditions. The goal is not a perfectly checked list; it is knowing what still needs attention and who will handle it.
References for this guide
The Department of Energy home energy checklist supports regular equipment and filter maintenance. Consult your equipment manuals for the procedures and schedule that apply to your home. The practical inspection order above is an editorial planning aid, not a building inspection standard.